Loading...

Carlos Peña Hernando

Flexing the crunch is the only way to keep on track!

About Me

Hello there! I'm Carlos Peña and I worked as a programmer for this project

I consider myself a person with a great spirit of work and commitment. One of my concerns in game development has always been about how visual effects work and their technical implementation.

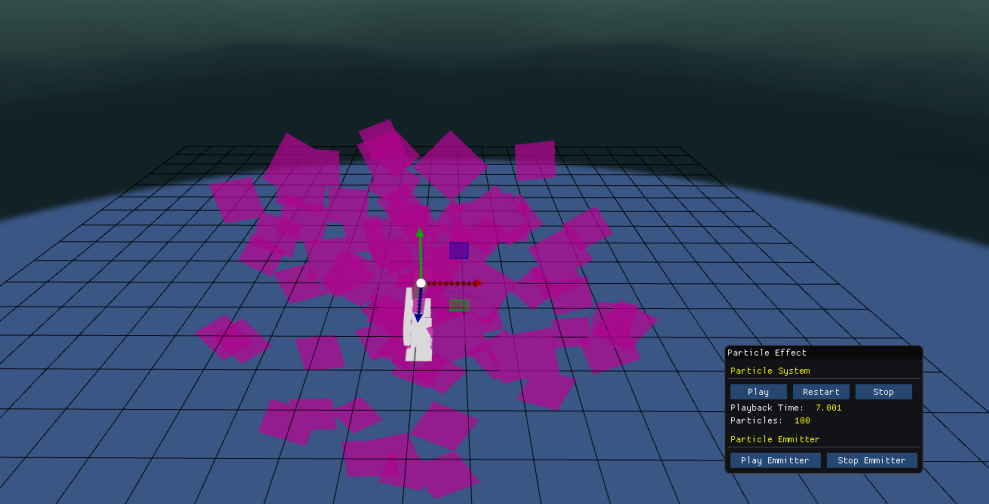
That is the main reason why I worked as a VFX Programmer in the development of TheWitcher: A Bard's Tale.

Contribution


Project Overview

From the beginning to the end of the development of this project, I have been part of the scrum team of Engine, in charge of our particle system.

Throughout the production I have been constantly updating and expanding the features and functionalities that the particle system can provide based on the proposals and guidelines requested by the design department.

Constant communication and feedback with designers has been crucial in order to generate the technology required to achieve remarkable game visuals.

  • Particle System
  • Particle Rotation
  • Texture Animation
  • Shader Integration
  • Emission Control
  • Mesh Particle Instancing
  • Billboarding Upgrade
  • Particle Lighting
  • Randomness
  • Trail System
  • Emitter Culling
  • In-Game Particles

VFX TECH IMPLEMENTATION

Particle System

At the beginning of the production, i have added and kept to date the particle system that I developed together with Sebi.

You can check the particle system on the Chrono Stasis Engine page.

Image

Particle Rotation

Image

One of the important points to prioritize from the beginning was to be able to transform the particles from their 3x3 rotation matrix.

In this way, we can get features such as "Start Angle Rotation" to provide an initial rotation to the particle or apply a frequency to its rotation matrix depending on the degrees that the user adds to the particle to be able to rotate it over the time.

Starting to be able to rotate the particle from the Z axis (the axis that points towards the camera) It was expanded to be able to rotate the particle in any axis, thus achieving to be able to orient it in the direction that the user will want.

Image

Texture Animation

Animation of textures was a very requested request by some designers so I focused from the beginning of production on this topic.

My approach to obtain this result was as follows:

  • Memory load of the respective spritesheet
  • Properly calculate all the uvs of each frame of the spritesheet and save them in an array
  • Rebind of uvs buffer of every particle to change the new uvs of the texture sheet to display the proper frame based on a frame counter
Image

Shader Integration

Image

I adapt the rendering of the particles with their color and texture using the materials implemented by Sebastián.. For this I had to reworke the buffers using the vertex array object and binde the corresponding shader that I customize to receive the color and texture as inputs

This adaptation and rework of particle painting with shaders will be great for us in the not too distant future to add HDR or bloom to the particles.

Emmission Control

In order to get a better effect transition between Gerald animations, I implemented new functionalities that will exclusively affect the emitter of the particles instead of the whole system.

In this way, if it is intended to stop emitting more particles, its emission is paused, allowing the particles that have been previously spawned to die.

A visual example is that of Gerald's running animations, that when he starts to run, the dust particles begin to be emitted and when he stops and Gerard happens to be in an idle state, the emission is paused, allowing the particles to die.

they had been issued before the change of states. This is a point of improvement with respect to the vertical slice 1 since at the time the entire system paused making all the particles disappear at the moment when it changed states.

Image
Image

Mesh Particles

In order to be able to produce visual effects such as sword slashes, area of effects, projectils, etc. I took responsibility that the particles were not only painted as quads, but could represent any type of mesh within the system.

Thanks to this functionality in the particle system, it has been possible to carry out a large part of the combat vfx of Gerald, Yennefer and enemies.

Image
Image

Billboarding Upgrade

Also improve and expand all the types of bilboards that the particle could use in our system.

Including especially Velocity based bilboard, which is based on obtaining the vector direction of the particle (velocity) vector Z (which always points to the camera) and make a cross product to obtain the vector latter to form the matrix 4x4 of the particle.

With this transformation, the particle is pointed at its direction of movement, always respecting its billboard to the camera. Thanks to this we can simulate physical effects

Image

Particle Lighting

Image

Finally, to simulate particle system events like a bonfire or antorch. We needed a light casting from the emitter of the particle system.

Take advantage of the point lights system that gmfreixas implemented to reproduce light based on a point internally from the particle system

This functionality allows both light casting only around the emitter, around each emitted particle or even both cases at the same time.

However, it is a resource that burns a lot of memory, so from the Particle Light module it can be trained to a specific number of lights, to be customized by the user.

It also has several characteristics such as sharing the same ambient and diffuse color with the color of the particle, fade in / fade out depending on the transparency of the particle, intensity over particle size, etc.

Image

Randomness

Image

as a miscellaneous but important feature, i added the option to chose between one constant or random between two constant to randomize particle properties as their rotation like you can see in the image below.

This kind of detail give us a more natural and organic simulation of particle effects

TRAIL IMPLEMENTATION

Trail System

Image

To accomplish certain types of effects such as the dash, the idea of implementing a trail system was proposed since with the particle system we had we could not achieve the desired results.

We decided to add the trail effect and I was in charge of developing it. The component of trail is a component that leaves a trail behind the gameobject to which it is tied and has the properties of time of life, minimum distance and orientation.

Approach

My approach to handle with trail implementation was as follows

  • Trail represented as a collection of nodes
  • OBB’s face indices as vertex connectors
  • Each node has 2 vertices (2 OBB face indices)
  • Every time the OBB face indices are distanced by a minimum distance from last node, we create a new node with the new OBB face indices
  • Then, every node vertices are connected with the next node ones and a quad is drawn
Image

At this point, We need a logic to make the trail interactive and handle a stretch effect. We will interpret nodes as entities with a lifetime and Every frame we will check if last node is ready to die, if not we will break the loop because we don’t want to take into account next nodes until the last one is dead.

According to a selected axis of movement (X, Y, Z), OBB’s vertices are obtained to generate a trail in that direction. But we need to orient the origin and destination vertices if we want to generate a trail in the opposite direction.

To handle this, we rearrange the vertices before we input them as a uniforms flipping them to simulate the quad correctly and rematching its UV’s in the shader.

Image

ENGINE OPTIMIZATION

Emitter Culling

Image

To accelerate the drawing we use frustum culling using bounding boxes.

I did the calculation of the AABB, avoiding doing it more than once per frame by gameobject and without having to review all the vertices in each calculation

IN-GAME VFX

VFX Production

Some visual effects which i made during first production stages of this project

Shader Production

Taking advantage of the knowledge obtained thanks to the adaptation of the painting of the particles using shaders, i was in charge to deal with some shaders like Fresnel shader to obtein the typical effect of a Fresnel Shield.

This is the final output using the fresnel shader.

Image